Scheduling playlists
Schedule
To schedule your playlist, start by creating a new schedule.
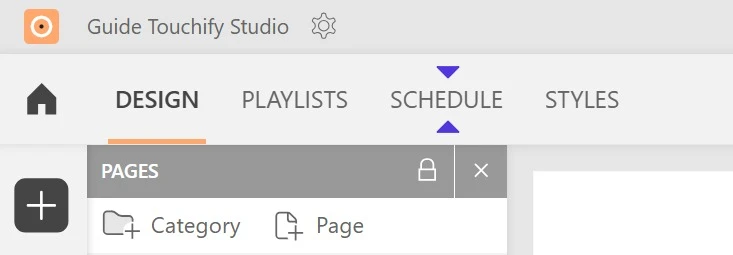
At the top left of the interface, next to the "Playlist" tab where you built your project, click the "Schedule" tab. Click the "New schedule" button to get started.
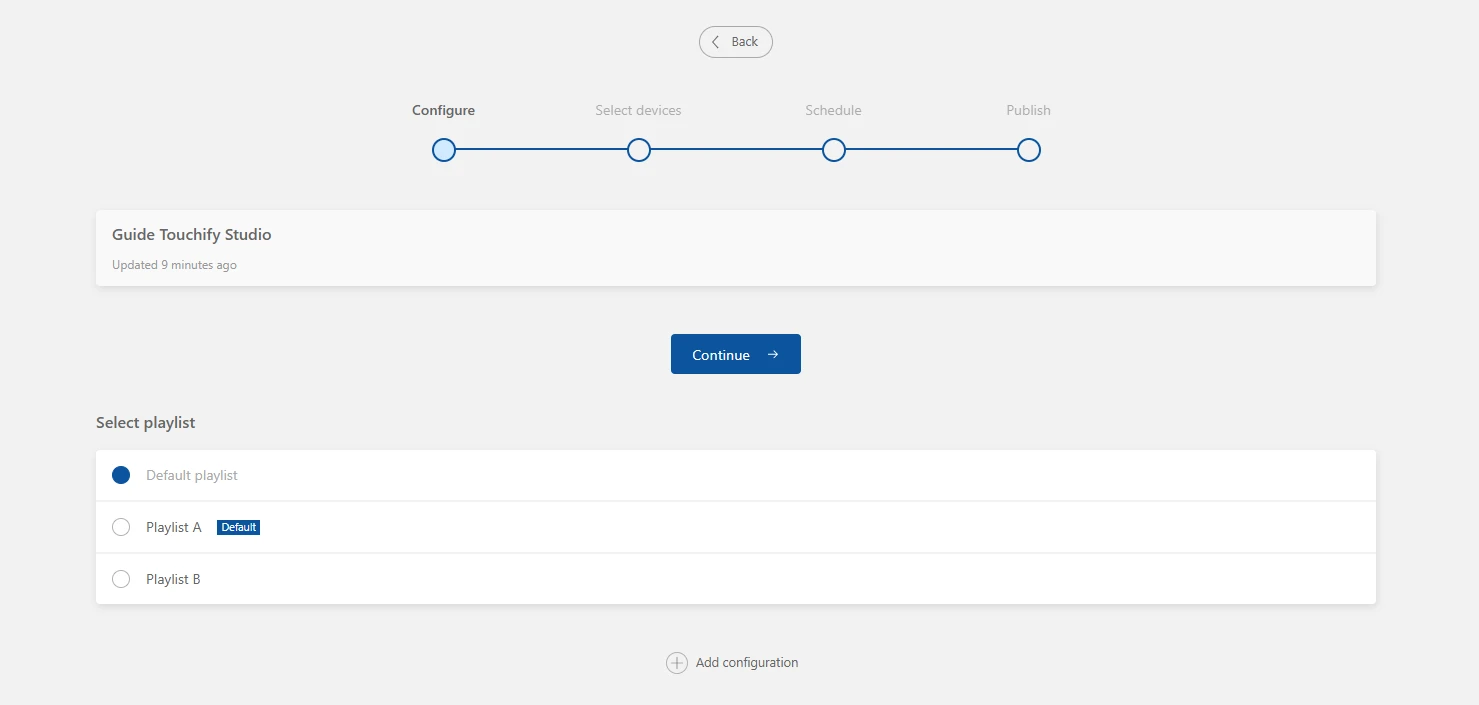
Step 1: choose the playlist for this schedule. The default playlist is automatically selected, but you can pick any playlist in your project.
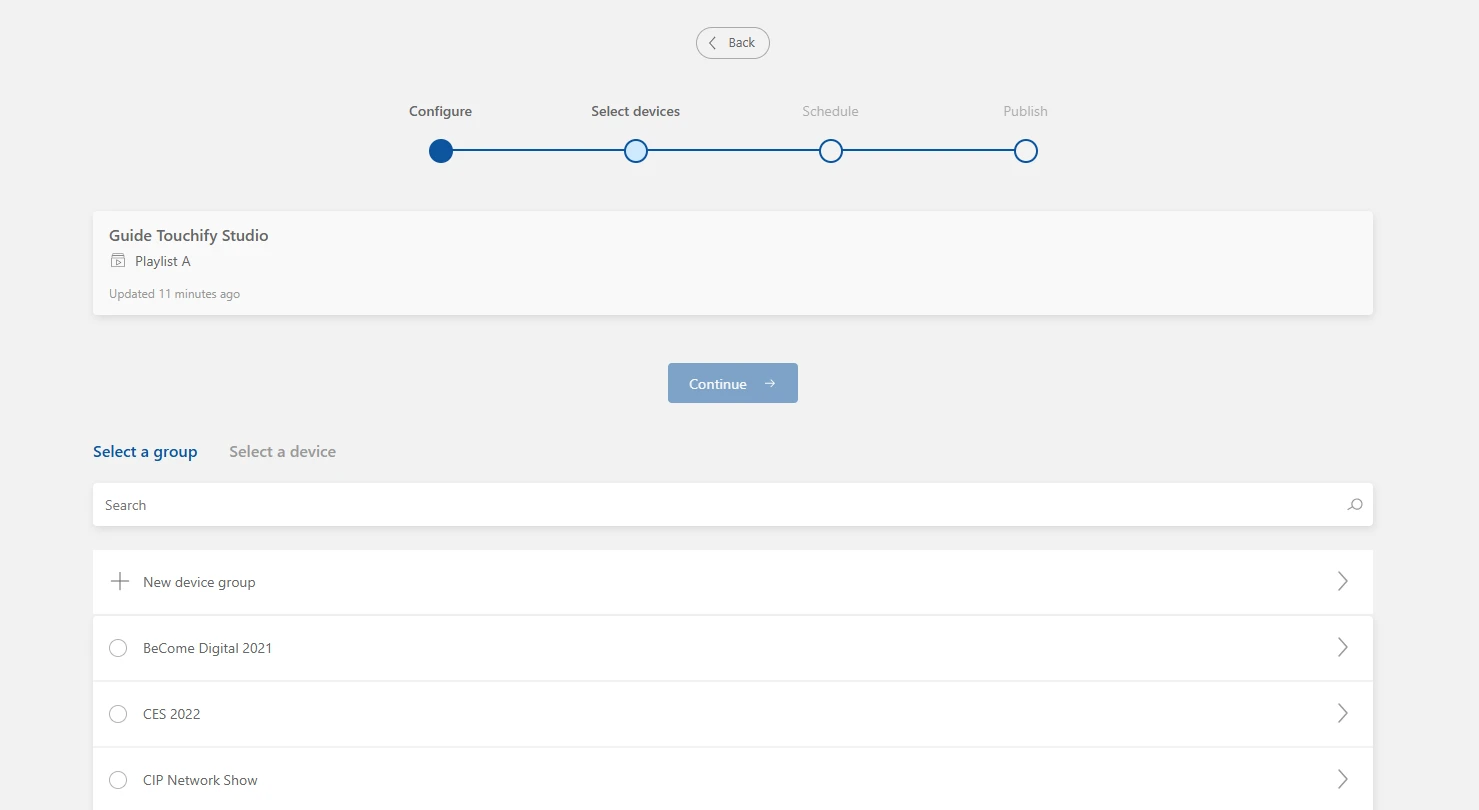
Step 2: select the group or screen you want to schedule your playlist to.
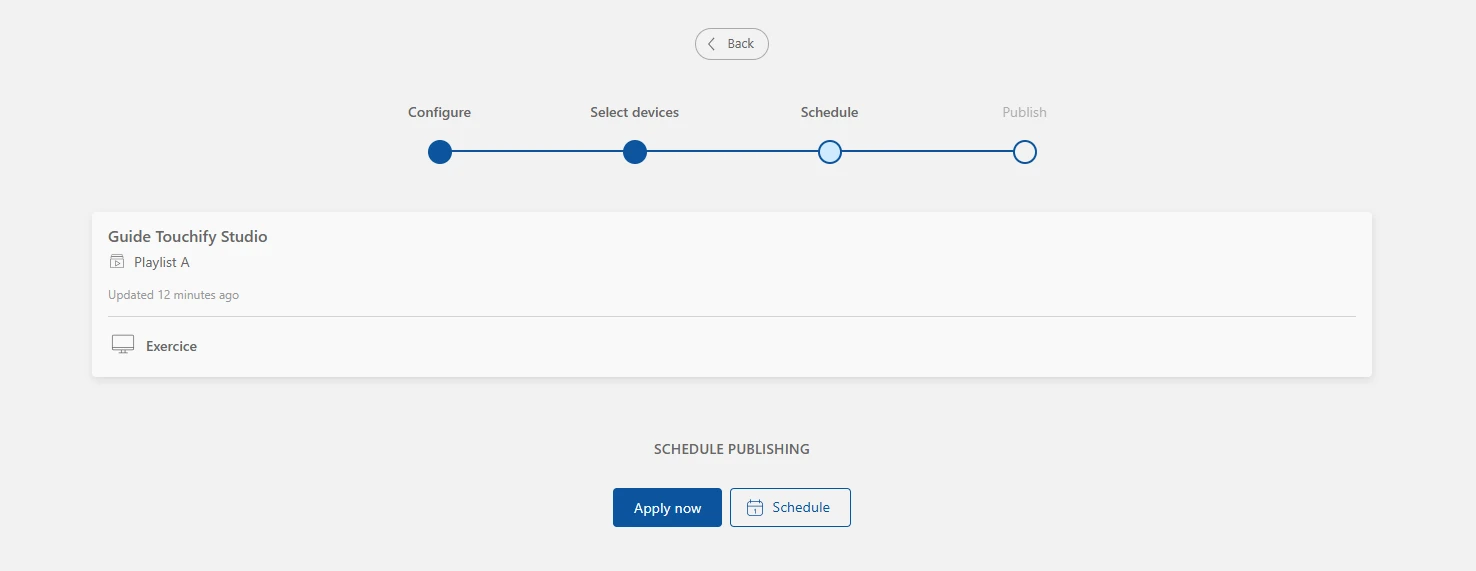
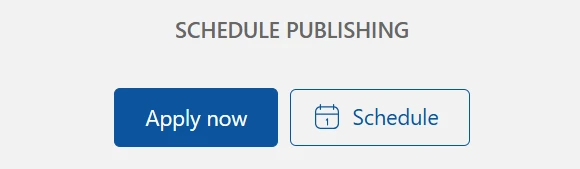
Step 3: the scheduling step is optional. If your project does not need any date or duration conditions, simply apply the schedule. Otherwise, click the "Schedule broadcast" button.
Scheduling
Like individual elements, the full playlist can depend on certain conditions: duration, recurrence, specific time slots…
Start by creating a new schedule in the "Schedule" tab at the top left of the interface. Complete the Configuration and Schedule steps as needed, then click the "Schedule broadcast" button at the Scheduling step.
Two display types are available:
- Simple display, to define a start and/or end date, or a duration.
- Recurring display, to set up a regular but infrequent schedule, with a number of repetitions if needed.
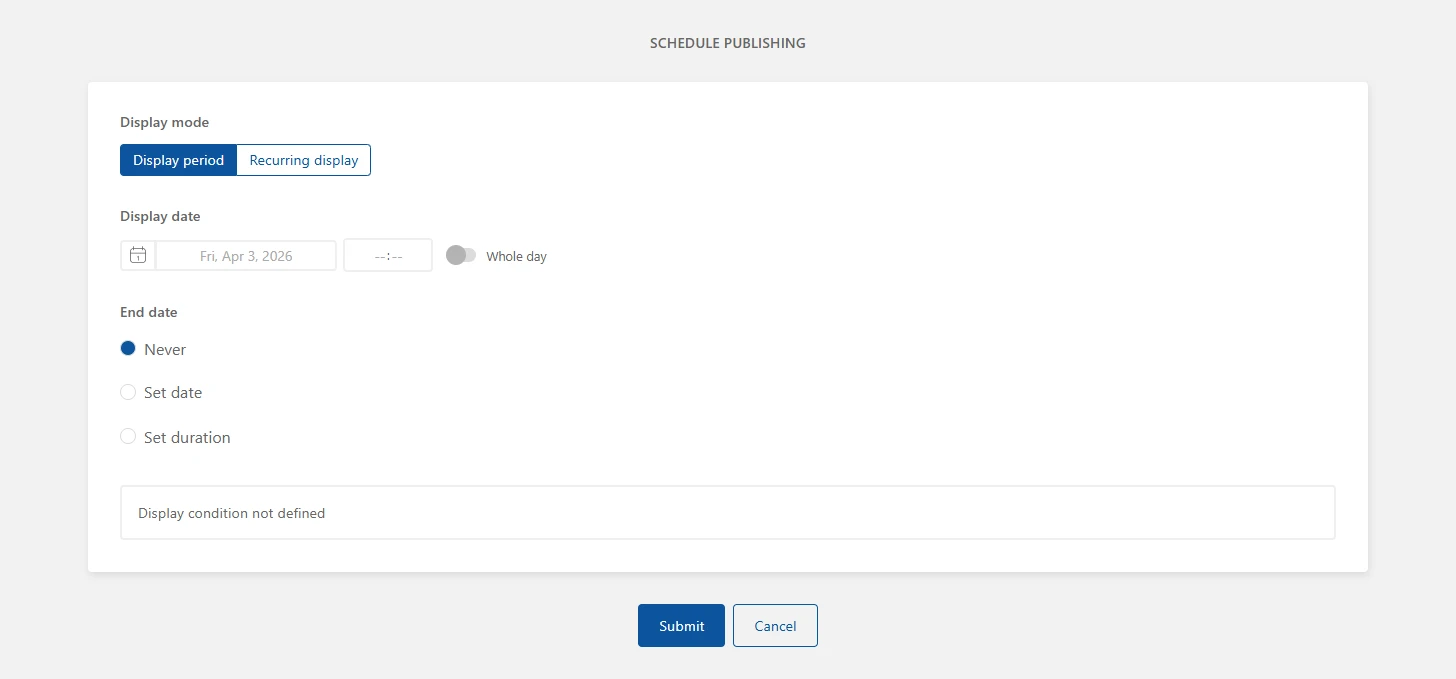
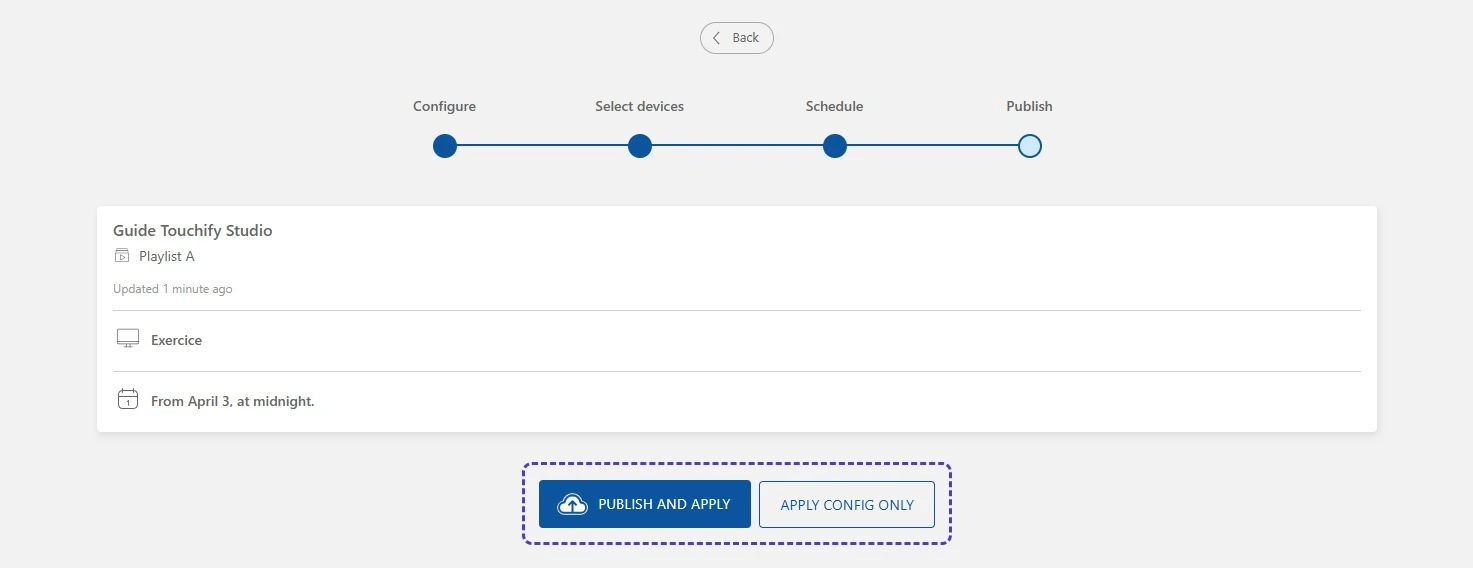
Once your conditions are set, click the "Confirm" button. You can review a summary of your publication before broadcasting (or simply saving) your project.
- Publish and broadcast to immediately apply this schedule to the relevant groups or screens.
- Apply without publishing to save your schedule and activate it later, at the next publication of your project.
Come back to the "Broadcast" tab at any time to edit your broadcast or create a new one.