Introduction
Creating a digital signage project
Creating the project
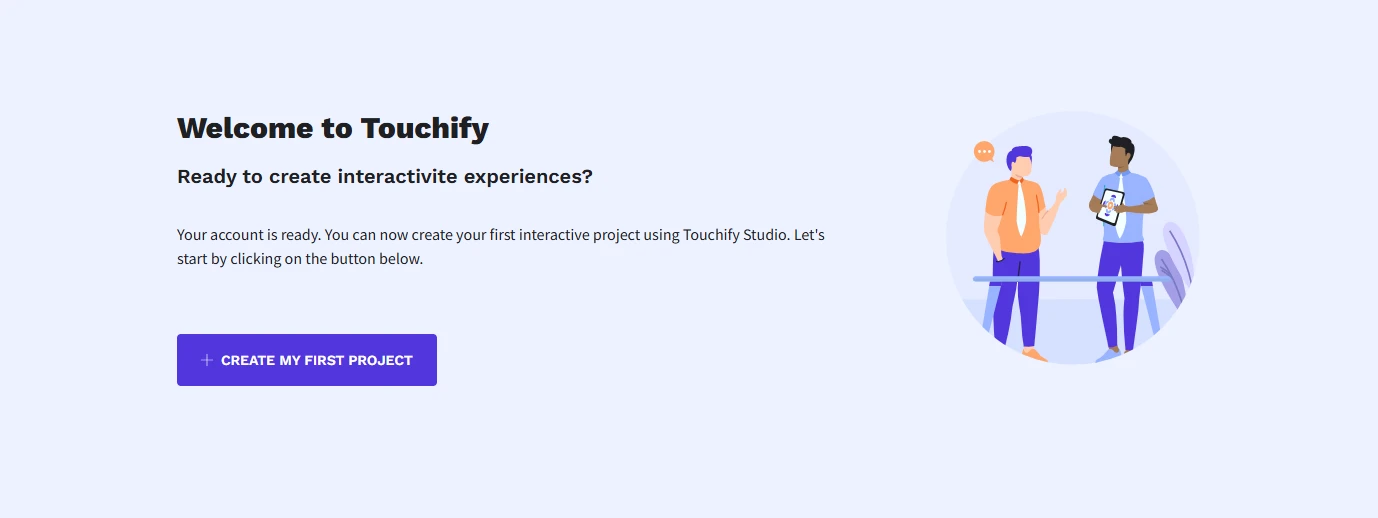
Log in to your Touchify profile at touchify.app and select your account. You will land on the page dedicated to your projects. If this is your first login, click the "Create my first project" button.
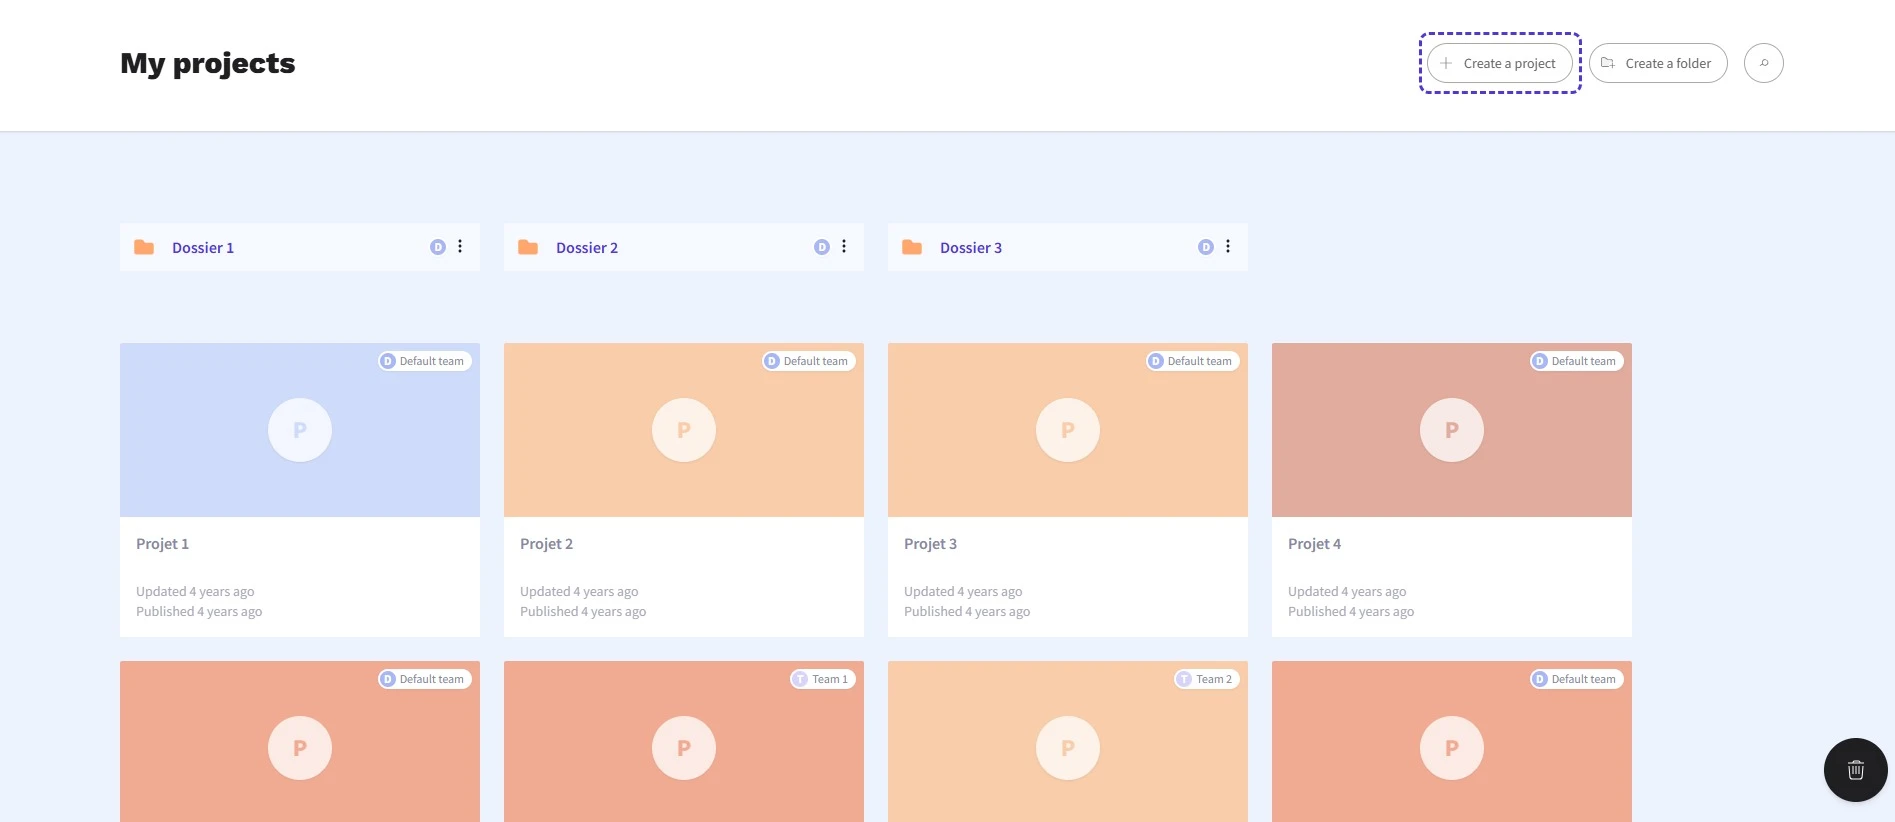
If you already have access to multiple projects, click the "Create a new project" button located at the top right of the section.
Project type
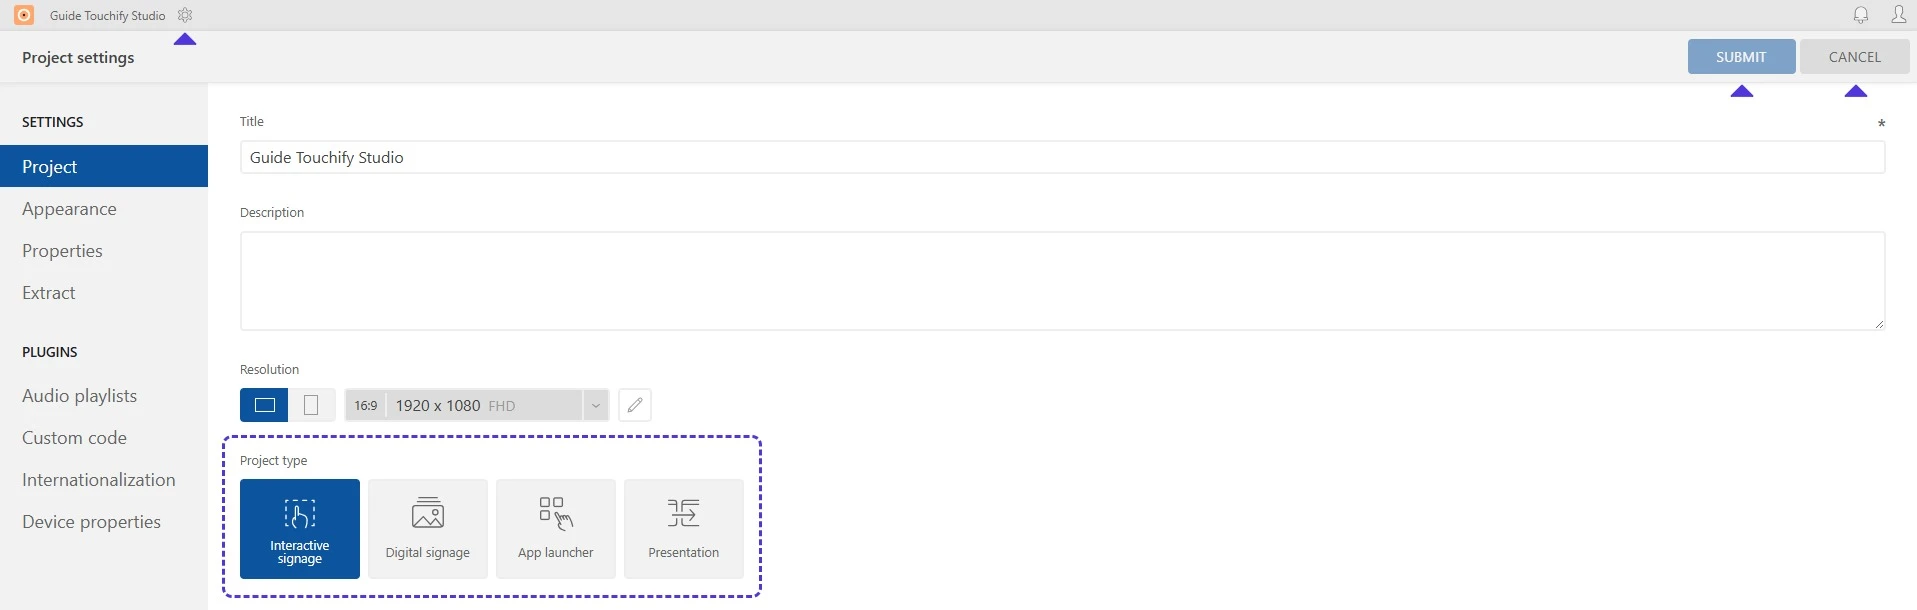
Several settings need to be defined when creating a new project. Three project types are suggested: select "Digital Signage" to optimize the features of your future playlists.
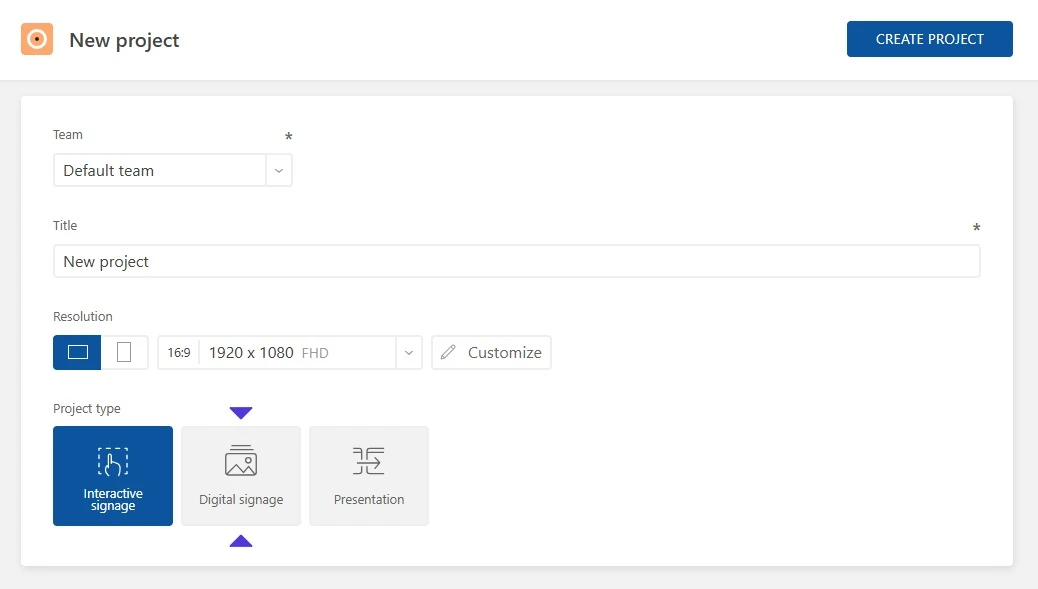
Resolution
Your project format is fully customizable. A wide list of dimensions is available, sorted by resolution or device type; if needed, enter your desired dimensions by clicking the "Customize" button on the right.

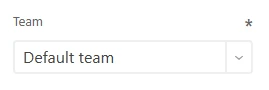
Team
You can assign your project to a team. The "Team" feature manages project accessibility: it will only be visible and editable by members of the selected team.
Once these settings are defined, click the "Create project" button.
Congratulations, your project has been created!
Touchify Studio has opened in a new window. The Playlist creation interface will allow you to integrate content and customize how your project works.
Enabling playlists in an interactive project
If, when creating your project, you chose the Interactive Display type, your presentation will automatically open on the Design tab. The Playlist tab is right next to it, in the top menu of the Studio.
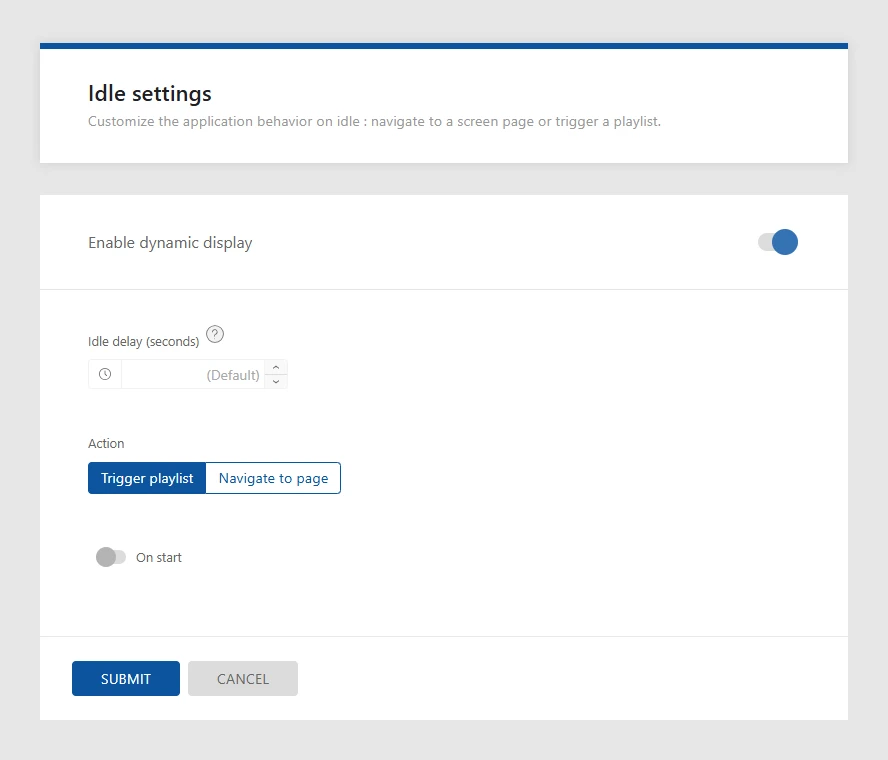
Select this tab: an activation panel will be presented to set the general display settings. Choose the inactivity delay, the action triggered at the end of it, and the options related to your previous choices, then click the "Confirm" button.
If you want to change your project type to optimize it, click the Settings > Project tab and select the type of your choice.
Creating a playlist
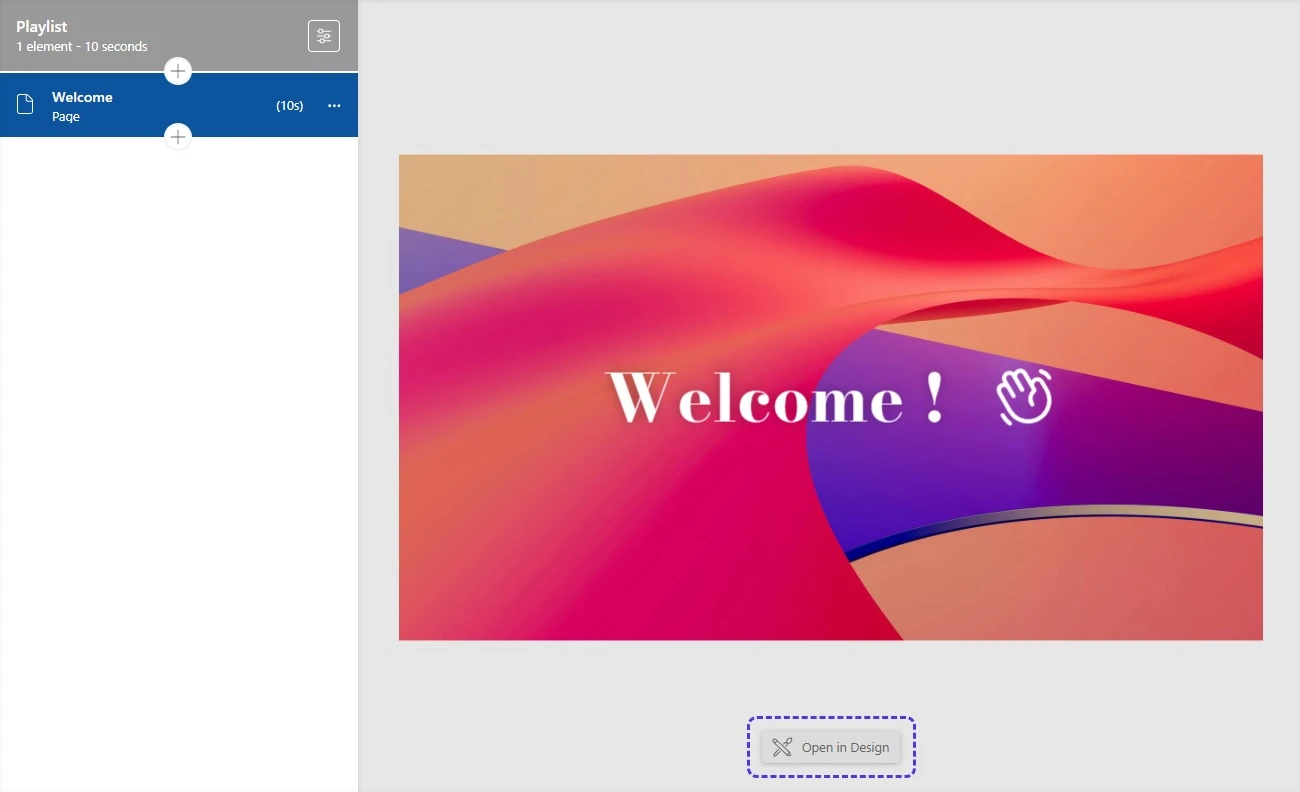
An empty playlist is created by default. You can use it directly or create a new one. To create a new playlist, click the "Playlist" button at the top of the left sidebar. In the new Playlist panel, press the "Add a playlist" button.
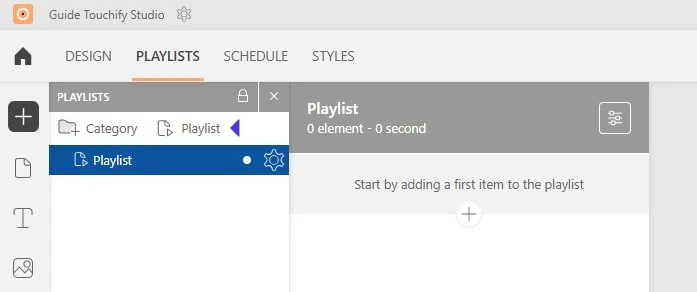
Once your playlist is created, select from the left menu the type of content you want to add: image, video, document, page, weather... If you add a page, you can edit it in the Design tab. An "Open in Design" button is available for this purpose at the bottom of the workspace.
Configuration
Customize the display settings in the right panel: duration, destination page on interaction, transitions...
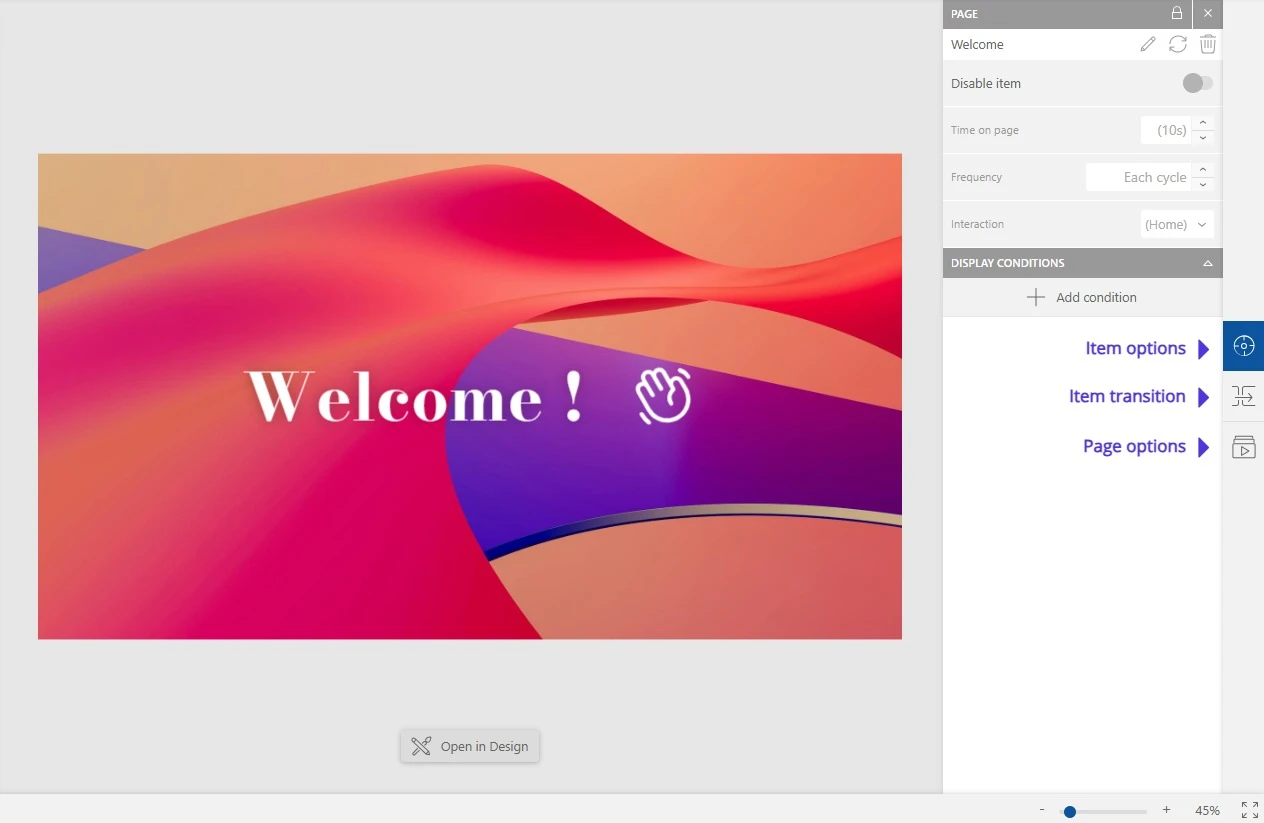
The right sidebar gives access to three different sections:
- The Element Options section, to edit the selected playlist element
- The Element Transition section, to adjust transition animations
- The Playlist Options section, to customize the above settings globally
By default, the pages of your playlist play in list order. Reorder them using drag-and-drop, or enable shuffle mode in the playlist window on the right side of the interface, under the "Playlist Options" tab.
